
How to add and customize an omnichannel chat widget on your website


Try Trengo for Free

Trengo unites WhatsApp, email, web, social media, and calls in one inbox, saving your team hours of repetitive work and ensures no conversation is ever lost

Customers want a low threshold when it comes to reaching out to your business, and you want to create touchpoints in the places that convert the best. The great news is both goals can be achieved by one simple tool: the omnichannel widget.
So let’s not beat around the bush and dive straight into the what, why and how of omnichannel widgets. Because trust us it’ll be worth it to kick off your omnichannel approach with the widget. As a poll by Anderson Consulting shows us that 62% of online customers would buy more products when live chat and support are immediately available.
What is an omnichannel widget?
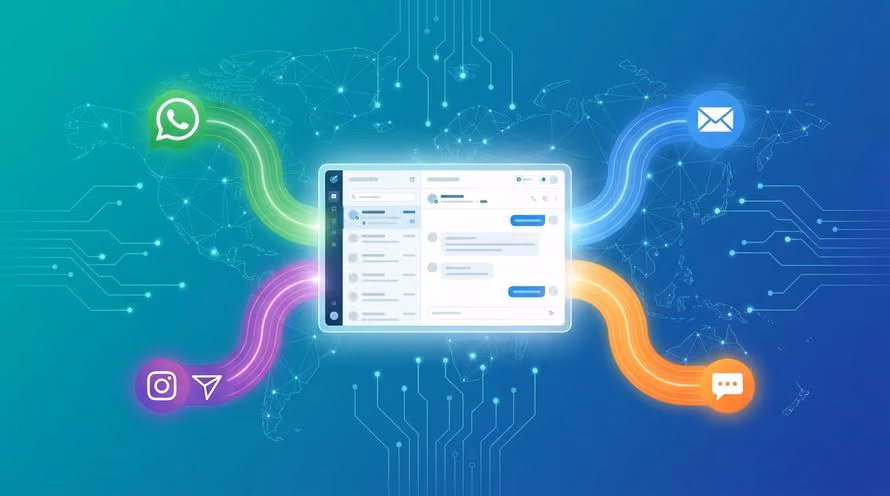
The omnichannel widget is a web application that shows users an interface where they can start a conversation via multiple channels. Whenever customers visit your website, the widget (usually popping up in the bottom-right corner of your screen) allows them to pick out the channel that suits them best. While your team in turn can use the widget to grab attention and convert via all your channels.
Usually, the web widget will look like this:
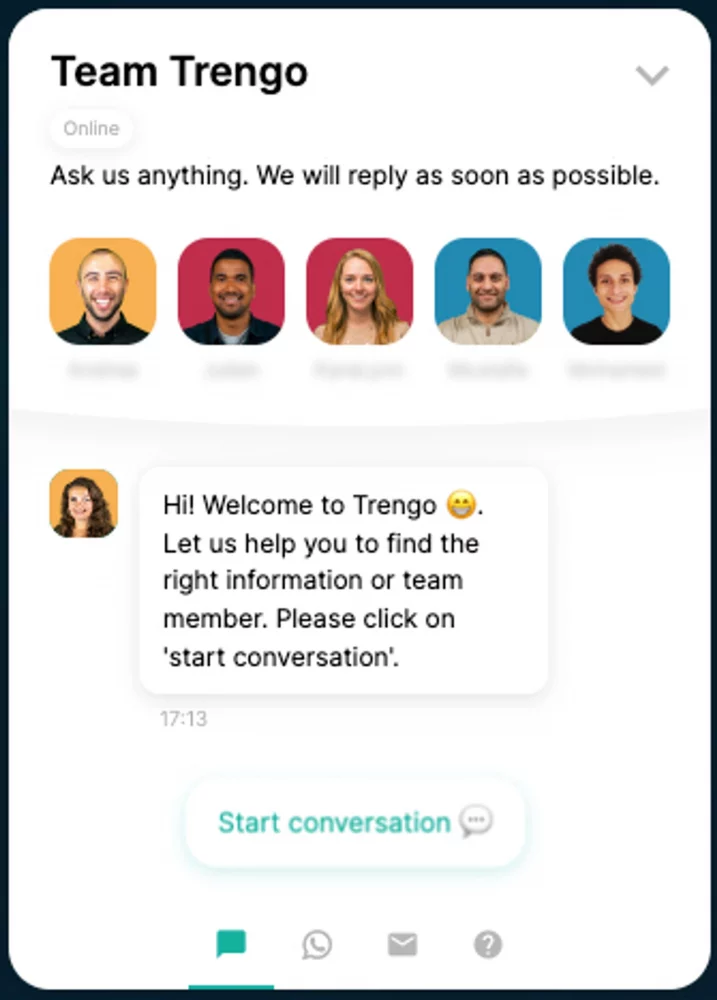
When the widget is connected to your customer engagement platform, one like Trengo, you can connect all important channels such as Facebook Messenger, WhatsApp, Live chat, email and even your help center.
And as said, the widget lowers the threshold for customers to get in touch because it pops up and only takes one click to start a conversation. It’s a great time saver for your customers and for your team. Because without any investment, customers ask questions that will land directly in your teams’ multichannel inbox.
What are the benefits of having an omnichannel widget?
So what will happen when you have an omnichannel chat widget on the website? From experience, we see a big increase in engagement straight away. And what we see is that businesses experience:
- Set up of seamless and captivating omnichannel experiences
Nowadays customers are active on more channels than ever. This makes it important for businesses to be too. You don’t want a customer to take the trouble of starting a conversation via the chat, but to leave straight after. Because they noticed you were not present on WhatsApp, and they preferred this channel over email.
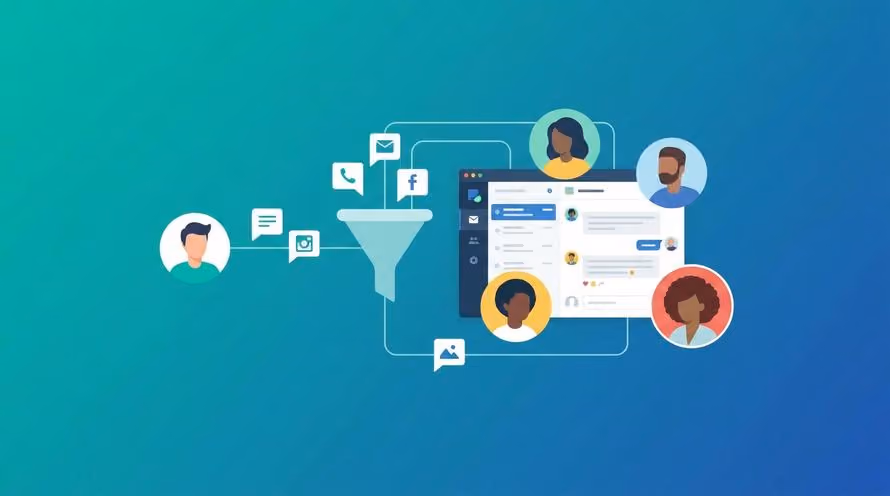
The widget shows all your integrated channels in one view. Customers get to pick their preferred mode of communication, always the one that poses the lowest threshold for them. And your team creates conversations and follow-ups via the channel that works best. Making for a far higher conversion rate along the funnel.
- Easy lead capture
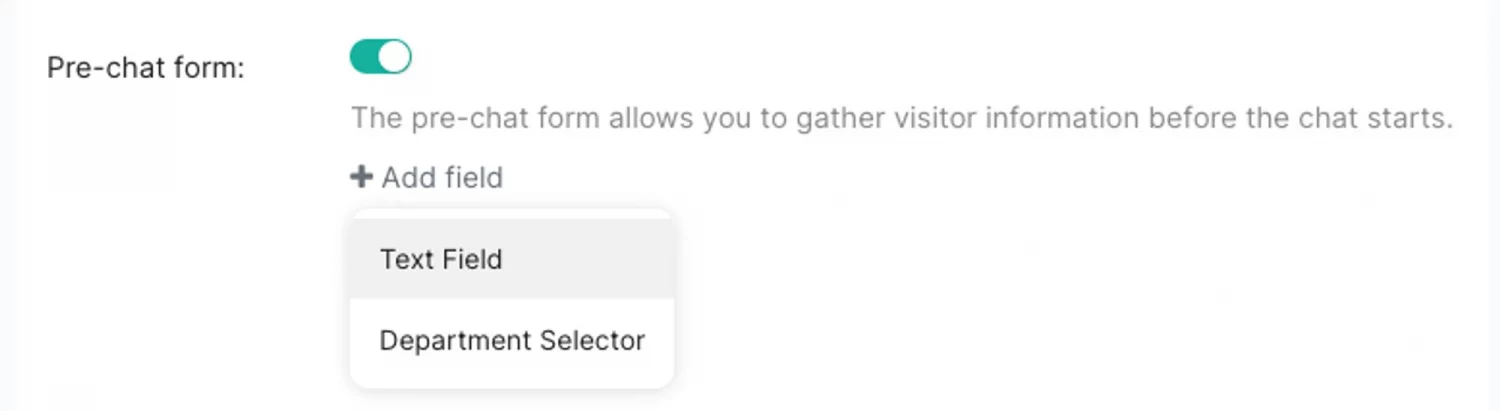
With the website widget on the website, it’s possible to ask visitors via a form for useful information. Even before the chat started.
Lead capture starts with the live chat. Once you’ve added the live chat to your widget, your team is able to set up pre-chat forms. This way you’ll capture visitor information. So whenever visitors start a chat, they fill out the form and when your team is notified they will see all pre-filled details, such as name, order number and more.
- Fast customer service even without the involvement of your team
Whether it’s after office hours, or just during very busy days a website widget is a great asset to your team. It’ll help your website visitors by answering questions 24/7. Via the chat- and flowbot that you can add to the widget, FAQs can be answered very quickly. And that is why using the widget as the first port of call for customers will relieve your team a lot.
So whenever a prospect or customer can’t find out what the best time is for changing to winter tires, you can use the chatbot to send a helpful help centre article. Or use the flowbot to redirect the customer to the right team (Sales in this case) to set up an appointment.
💡 Setting availability: Within Trengo, your team can set chat availability based on opening hours and team availability. Or keep the live chat available at all times and give customers the chance to leave a message even when your team isn’t online.
- Improved conversion rates
The chat is a great conversion booster. Because when customers are on web pages for a longer time, you can have the chat pop up. For instance, when customers are close to paying but have a question about how the product works, use the chat to answer straight away.
“50% of adults will abandon a purchase if you can’t give them a quick answer to their question.”
Source: Forrester
Add a website widget to your website in 3 steps
You can have a working website widget on your website in just three steps (without a developer).
1. Set up the widget: start creating a widget and customise it to your liking.
2. Add channels to your website widget: the next step would be to add all channels important to your customers to your website widget. Such as live chat, email, WhatsApp, Facebook, Twitter, Telegram, Voice, SMS, and even the help center.
3. Add the website widget to your website: after creating the framework and adding channels, the last step is to add the website widget to your website. So customers can start reaching out to you.
How to set up an omnichannel chat widget in Trengo
Your widget needs to be connected to your omnichannel inbox. For all conversations to end up in the same engagement overview.
If you’re using an engagement platform, like Trengo, setting up your widget is easy. To show you exactly what your team needs to do to get the widget live on the website, we’ve created this step-by-step guide.
Let’s have a look at what going through the 3 steps looks like using an inbox like Trengo.
1. Set up the widget:
- First of all, go to Settings > Settings > Web widgets, and click the ‘plus’ icon.

- Now go to ‘Settings’.
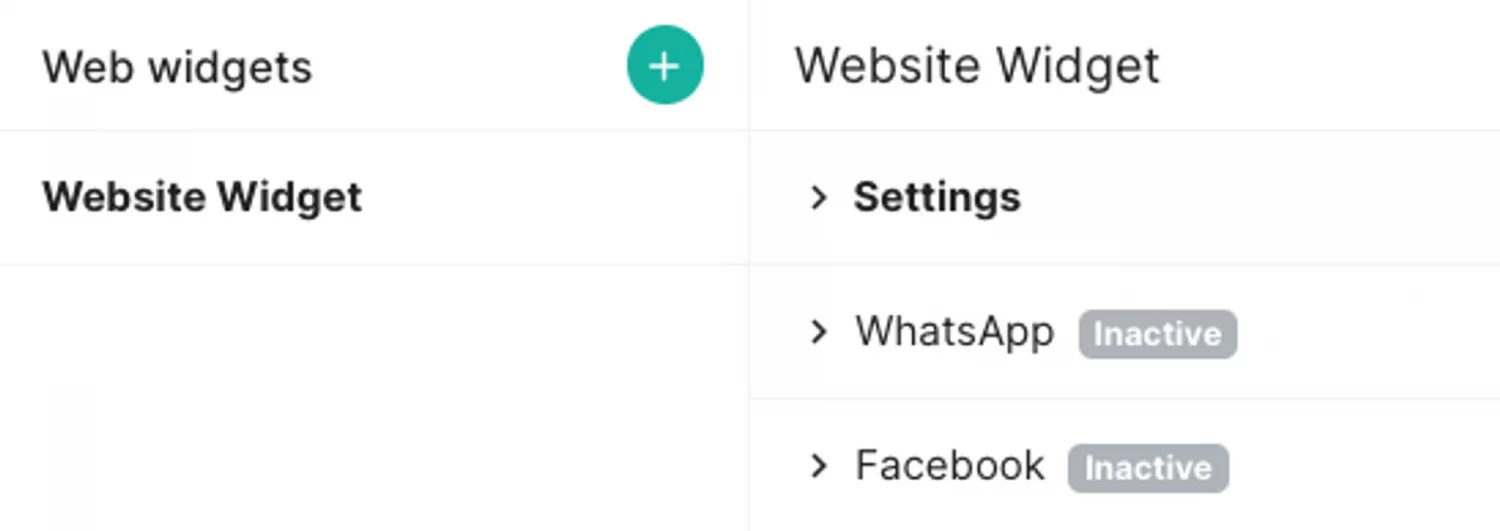
- And, set up your website widget. Easy.
2. Add channels to your widget
Next up is adding channels to your widget. Add the channels you are using now, but also think about which channels your customer journey would benefit most from.
WhatsApp for instance is the most popular messaging platform worldwide. Because people find it such an easy channel to use for all communication, not just with family and friends.
So add live chat, email, Voice, SMS and also popular channels such as WhatsApp, Facebook, Twitter, and Telegram. So soon you’ll be able to offer omnichannel experiences!
📚 Pick your channel, and check how to add it to your widget:
🔘 Adding live chat to your website widget
🔘 Adding email to your website widget
🔘 Adding WhatsApp to your website widget
🔘 Adding Facebook to your website widget
🔘 Adding Twitter to your website widget
🔘 Adding Telegram to your website widget
🔘 Adding Voice to your website widget
🔘 Adding SMS to your website widget
🔘 Adding a help center to your website widget
Highlighted channels
- The live chat
The live chat is definitely a channel we want to highlight. Because it enables your teams to pick up conversations directly and answer or solve queries within minutes.
When a prospect is on the verge of buying a product, but not entirely sure they are very likely to leave. However, leaving becomes less likely when a live chat is available. As mentioned 62% of online customers would buy more products from websites that feature live chats.
The word omnichannel really says it all. It’s about meeting your customers on all channels in order to provide seamless service. Now, all channels may sound a bit much, but in reality, it boils down to the most important channels. And with most important, we mean most popular among your customers. With 2.4 billion users WhatsApp is definitely one of these.
3. Last but not least: add the widget to the website
After creating the widget framework and filling it with channels, the widget is now ready to be added to the website. It’s easy, and your team can pick from two options: via the source code, or Google Tag Manager.
Using the source code to add the widget
- Navigate to Settings > Settings > Web widgets.
- Select the widget and click ‘Installation’.
- Copy the installation code and paste it into the website source code.
Either paste the code before the closing </head> tag on specific pages. Or add the installation code to your website source code if you want the widget to appear on all pages.
Using Google Tag Manager
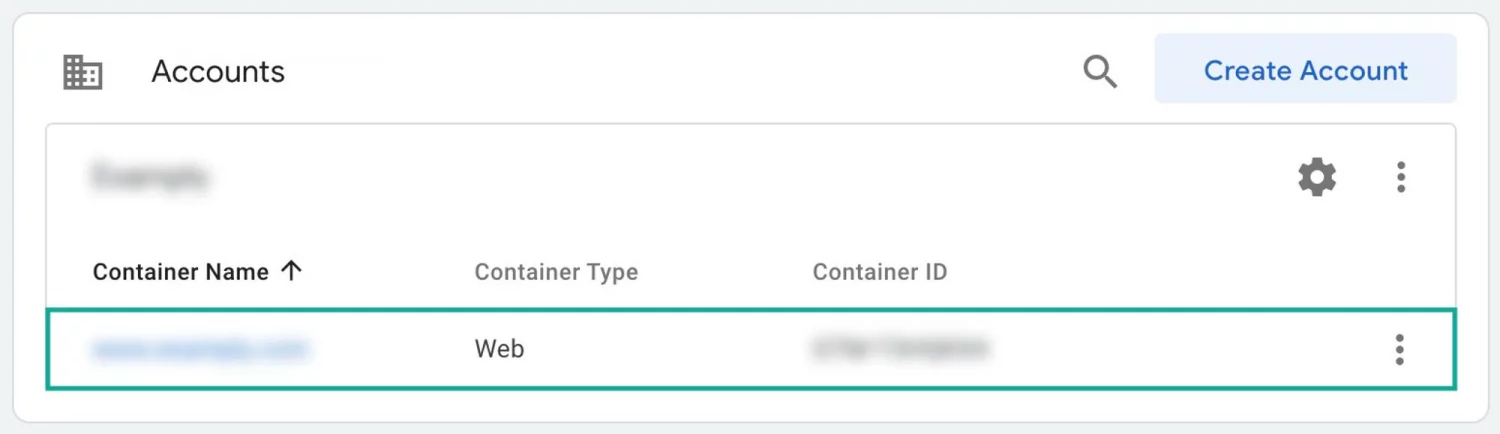
- Go to Google Tag Manager and select the account you want your widget to be in.
- Click on ‘New tag’.
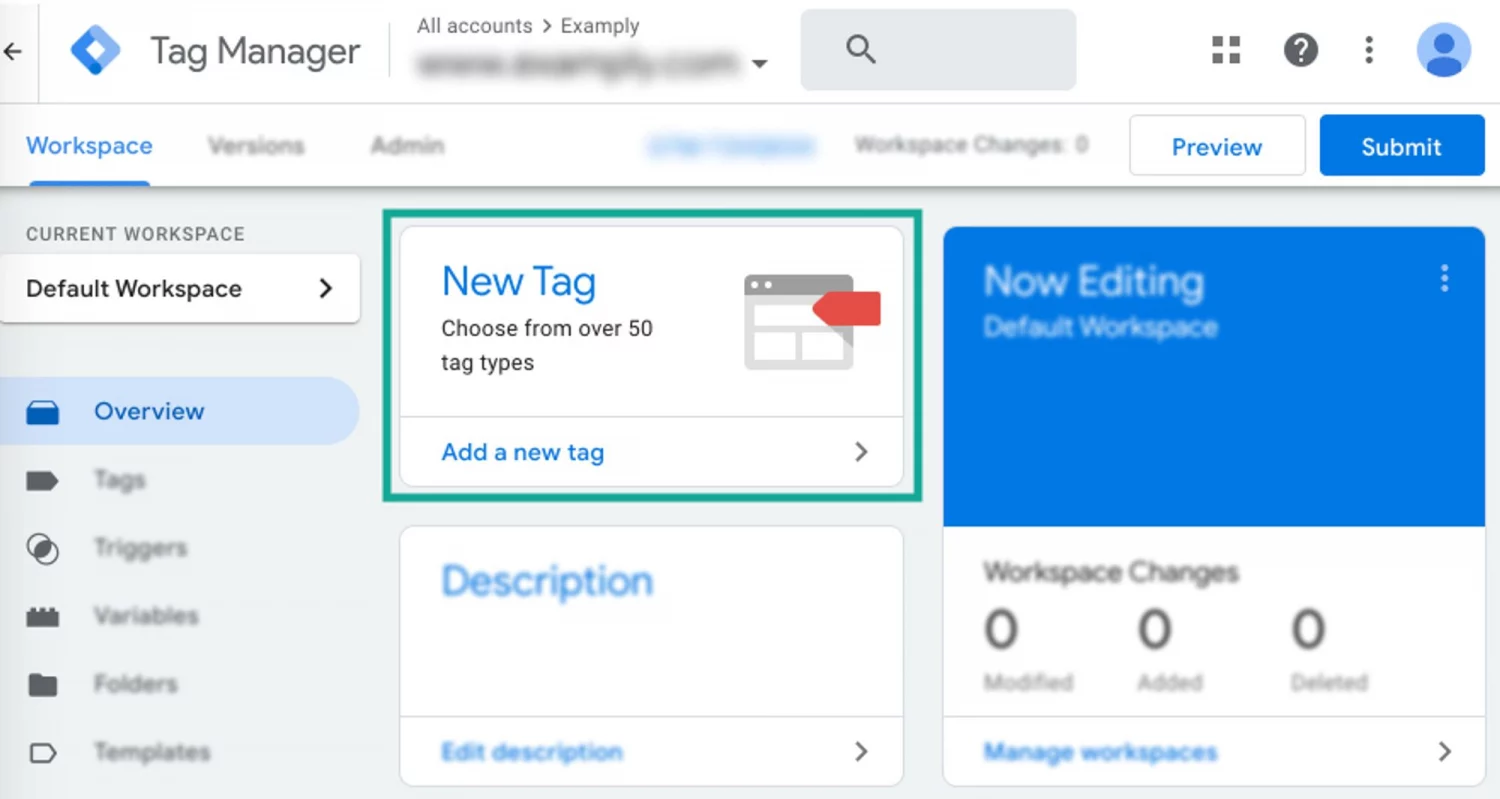
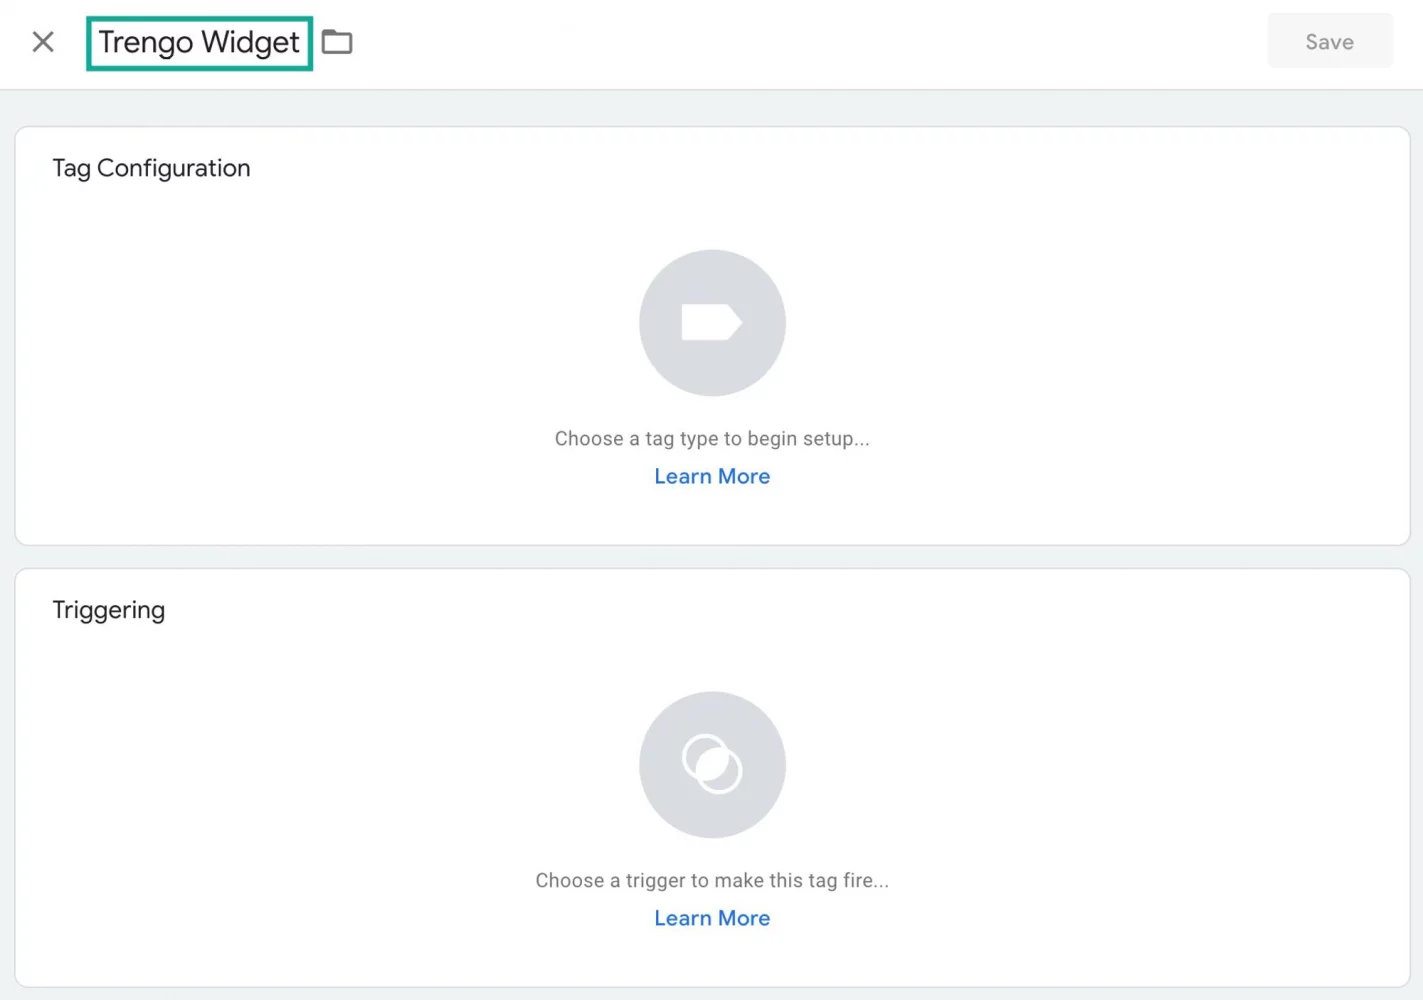
- Give this tag a name.
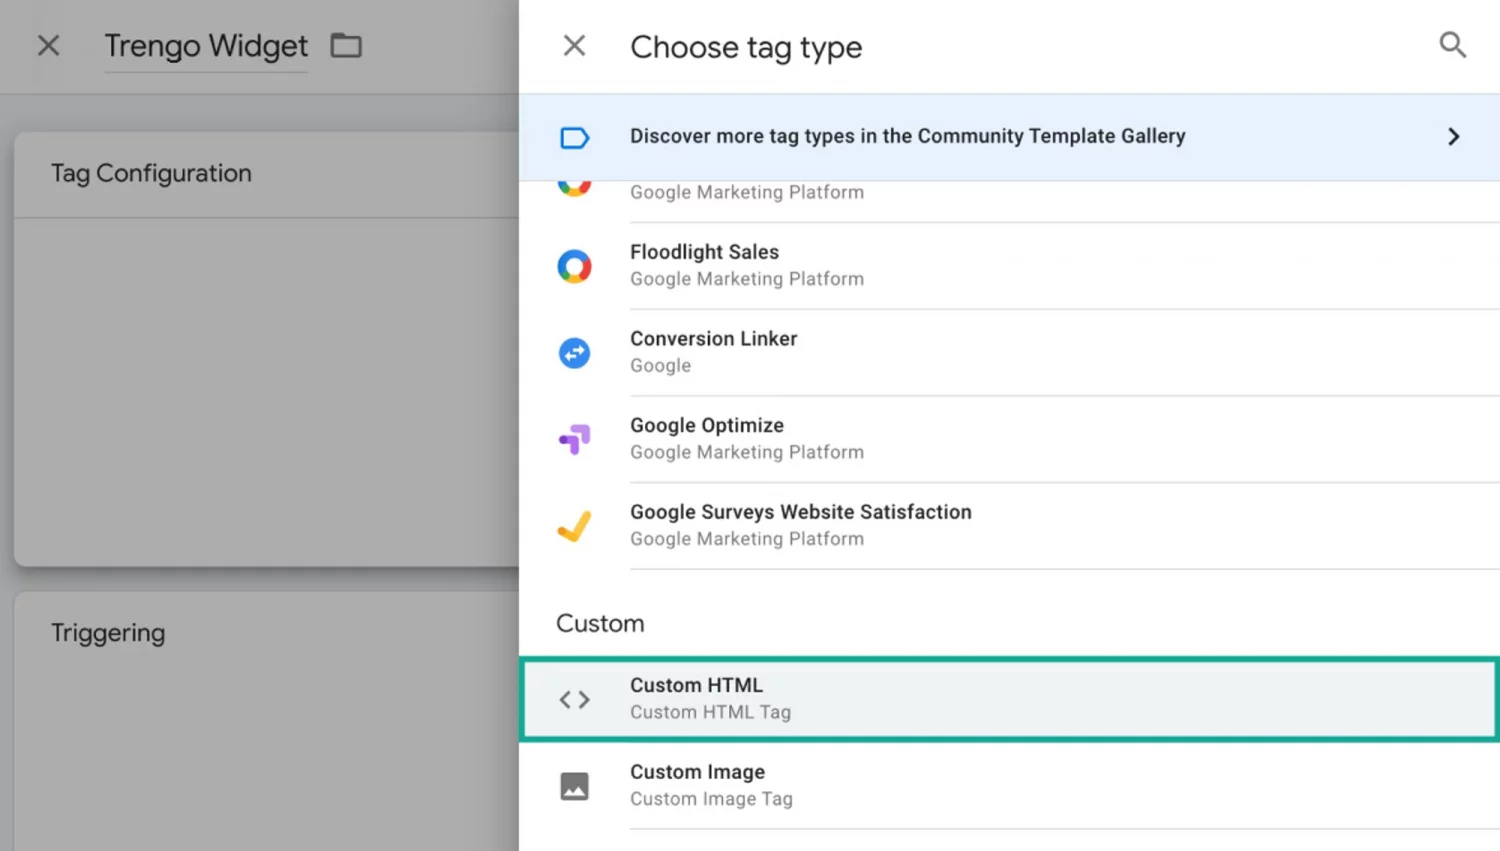
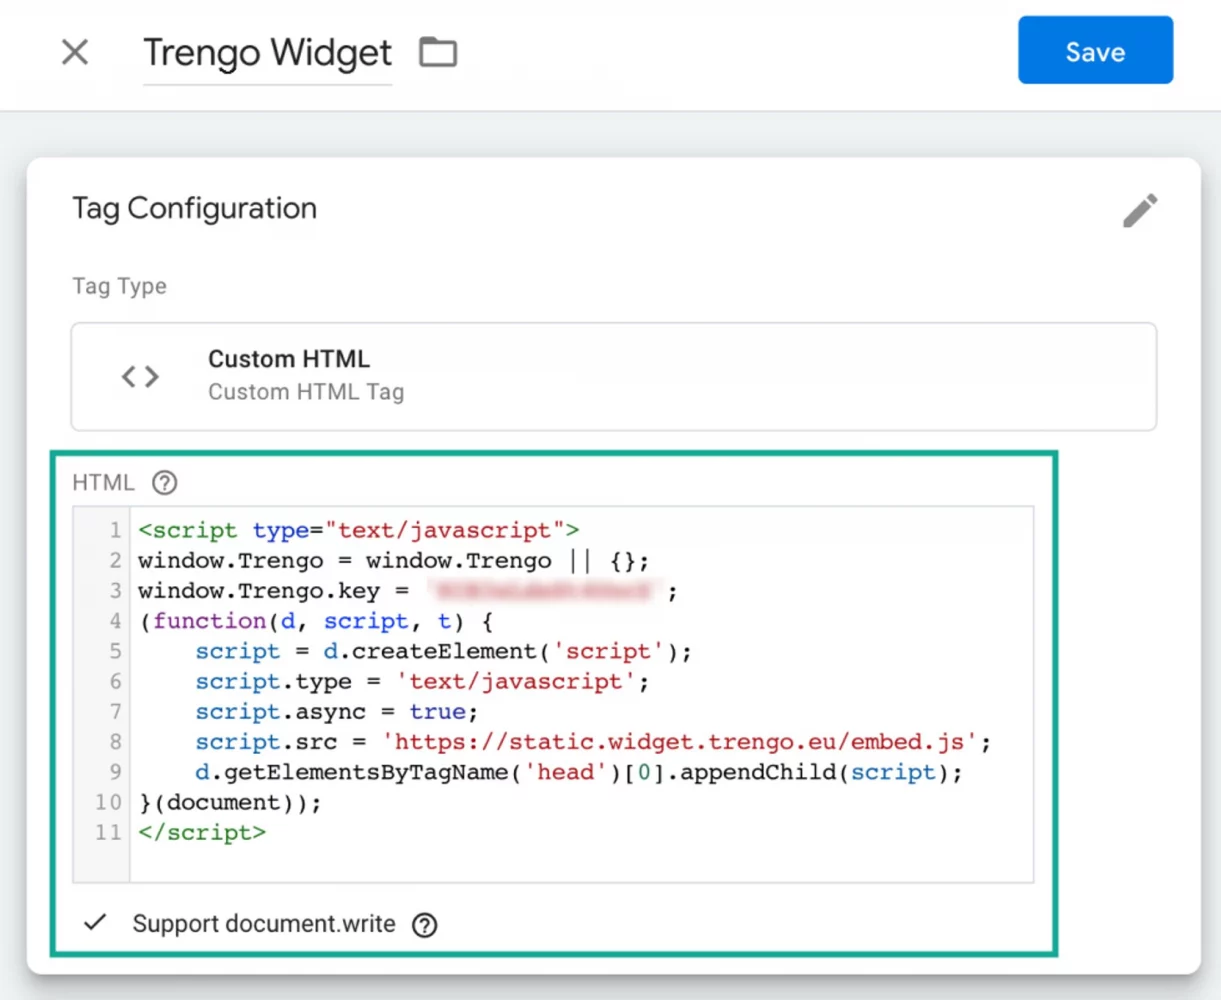
- Click ‘Tag configuration’ and scroll down to ‘Custom’ to select ‘Custom HTML’.
- Now head back to your Trengo inbox to retrieve the widget installation code.
You can find the code by going to Settings > Settings > Web Widgets > Your website widget > Installation. And paste it into the ‘Tag configuration’. After that enable ‘Support document.write’.
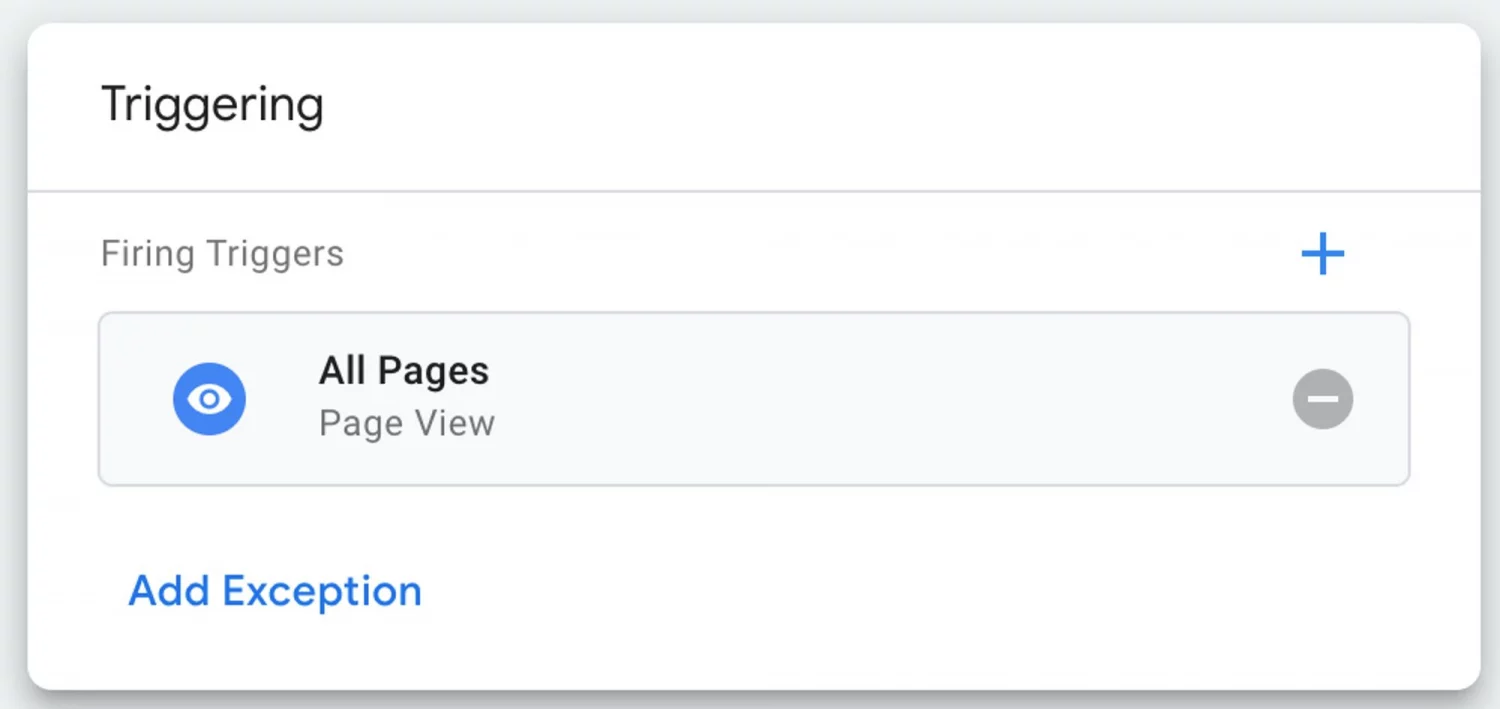
- Add triggers. These triggers will prompt your widget to show up on the pages you want. Do you want the widget on all pages? Then select ‘All pages’.
- Don’t forget to ‘Save’.
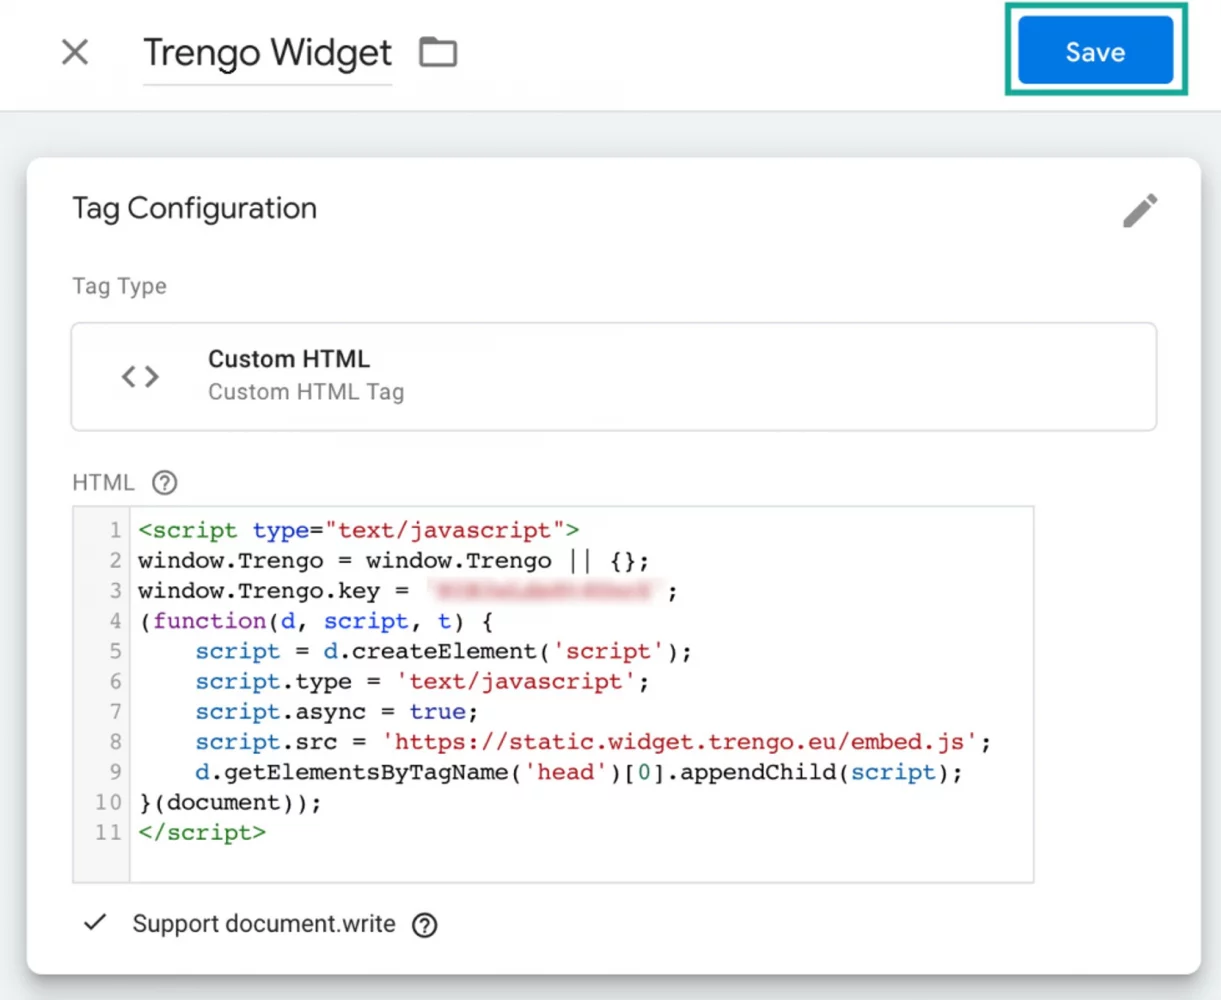
- And then ‘Submit’.
Your website widget is now set up via Google Tag Manager.

Example: How exactly do you add the widget to WordPress?
So let’s take WordPress, a popular CMS, as an example. To see how easy it is to add the widget.
- Go to the Trengo inbox and retrieve the website widget installation code.
Like described above you go to Settings > Settings > Web Widgets > Your website widget > Installation.
- Put the code into the template of your WordPress theme, or use this plugin to add the code to your header.
- Or use Google Tag Manager to add the website widget (see the steps described above)
That’s it! Your widget will be live on the WordPress website.
Go that extra mile: personalise your chat widget
You can make the widget brand compliant and look like an integral of the website. And omnichannel chat widget customization is quite important as it will make the widget look even more appealing for website visitors to use.
So don't forget to personalise the:
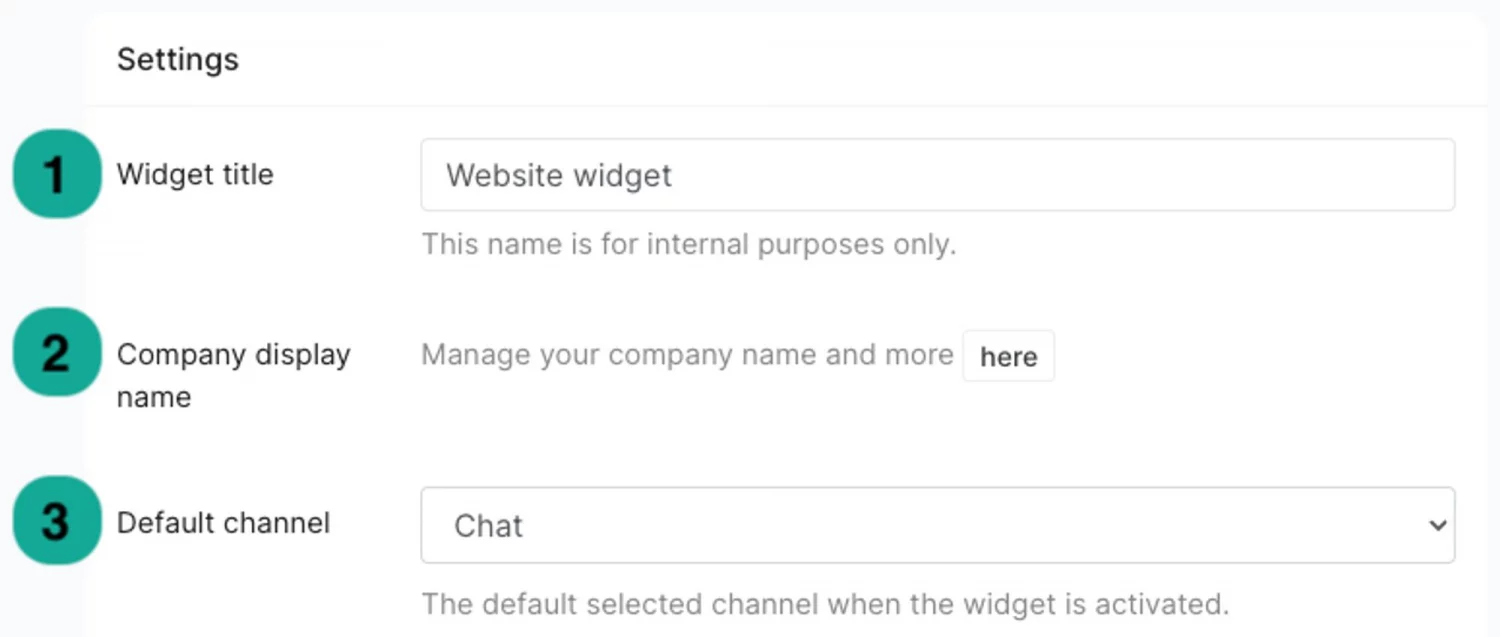
- Company display name: the name of your company will be displayed at the top of the website widget. Put the brand in by clicking the ‘here’ button.
- Opening line: customise your opening line at the top of the widget.
- Welcome message: you can equally customise the first message that people will see (1). And the button (2) will redirect them to their chosen channel.
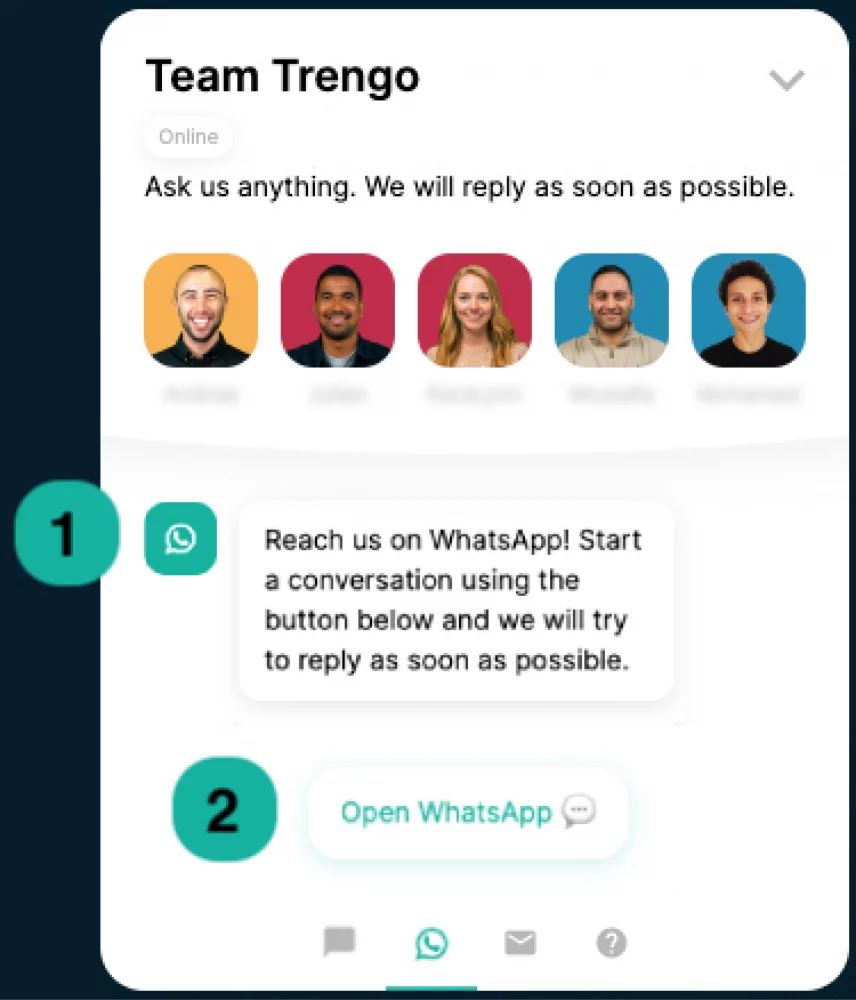
- Default channel: this will be the first channel customers when they open the widget. So make sure you pick the channel that makes the most sense for your customer base and their journey.

- Colours: give your widget the right colours to fit your brand.
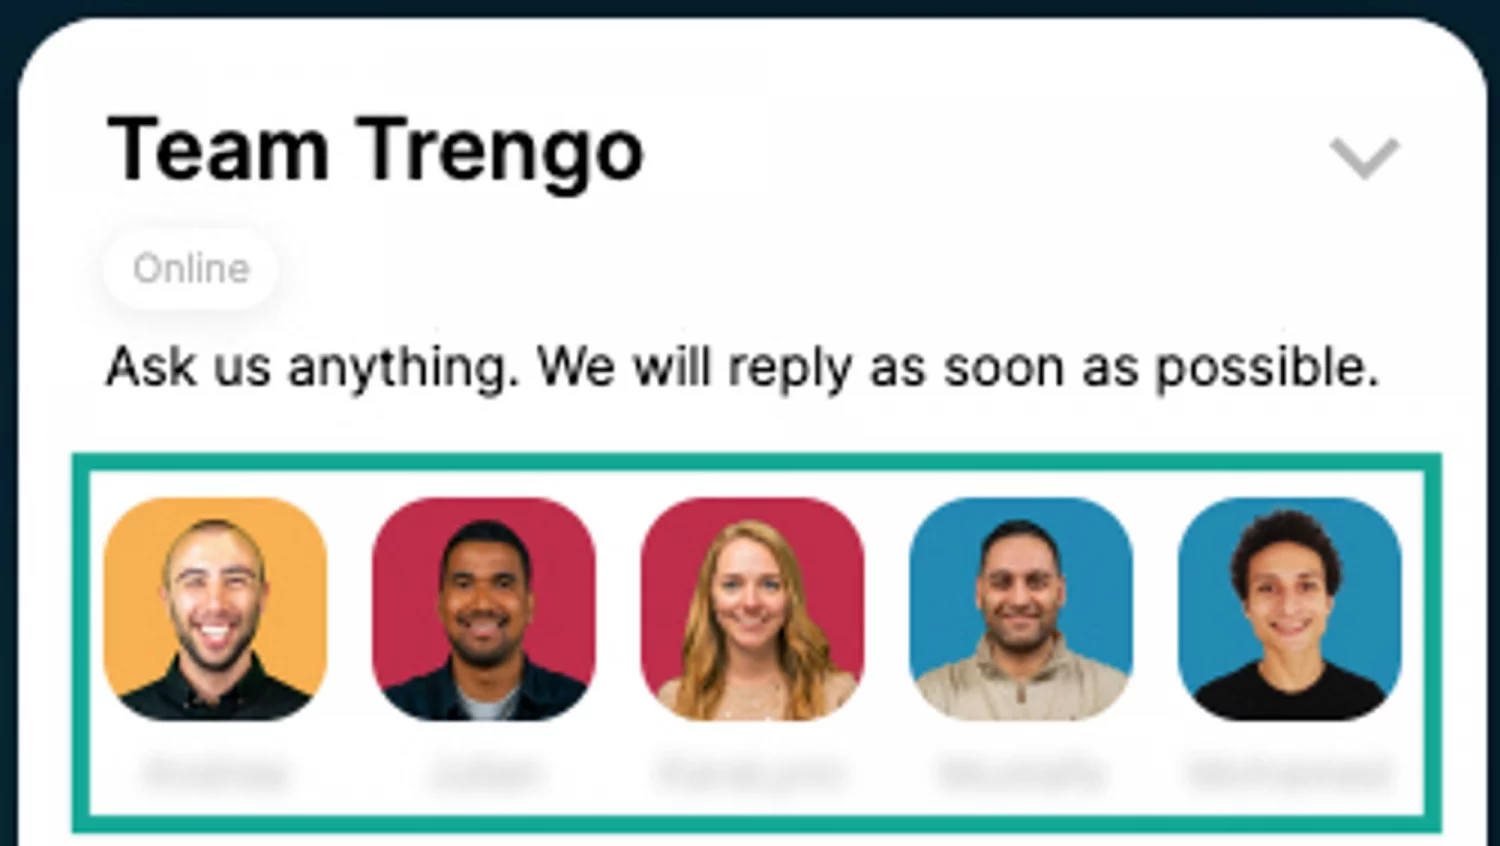
- Your team display: when enabled, your team (their profile picture and name) can be shown in the widget. This will be a great way to personalise the widget, so customers won’t feel like they’re just communicating with a robot.
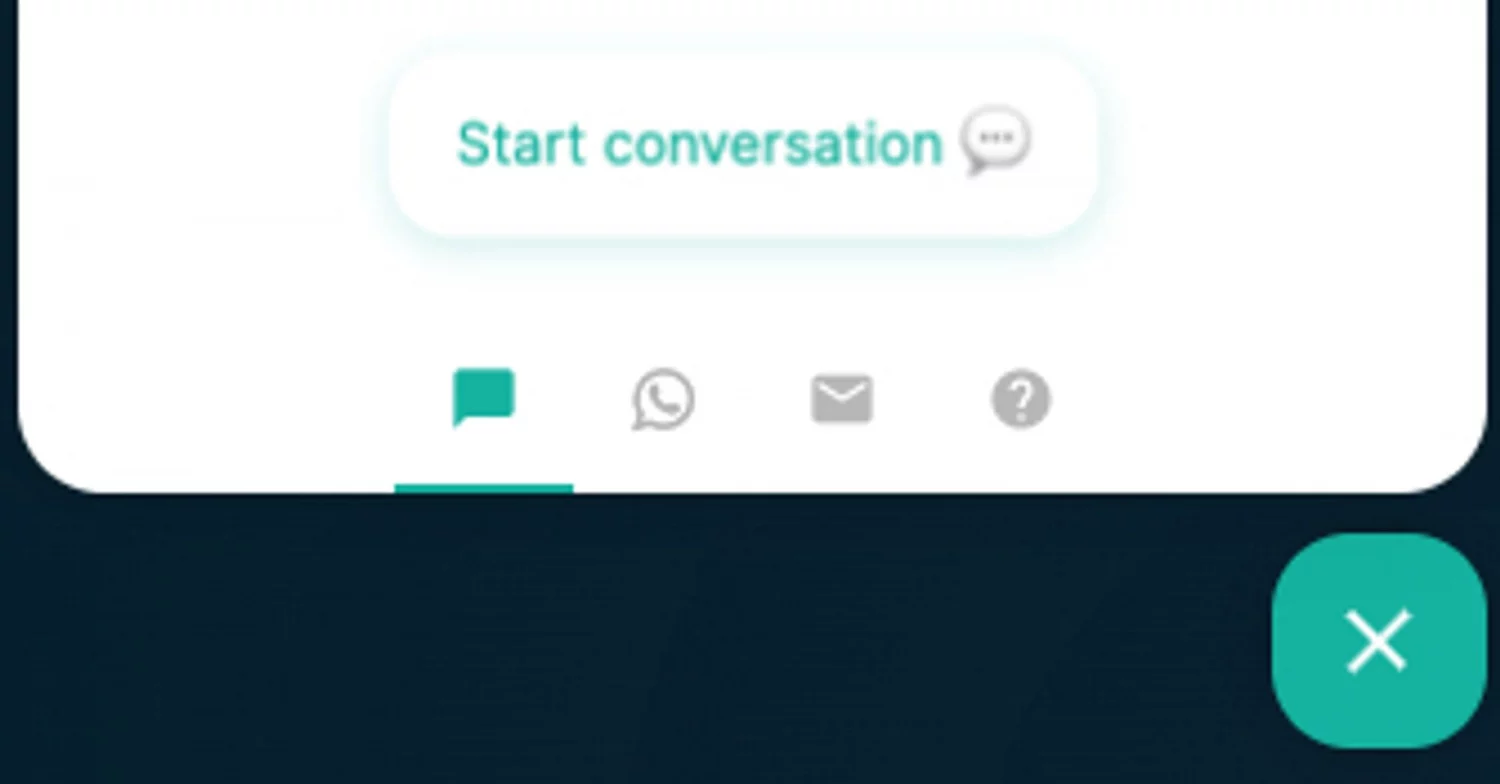
- Position: where does the widget fit best on your website? You can choose the side that works best.
- Icon: when the widget is closed you can choose to show an icon. Always good to show your logo here.
- Languages: the default website widget language is based on your visitor's browser language. But in case customers want to change that, you can add languages. This also goes for adding translations for pre-written answers.
- Whitelabel: you can always use the widget without the logo from your engagement platform.
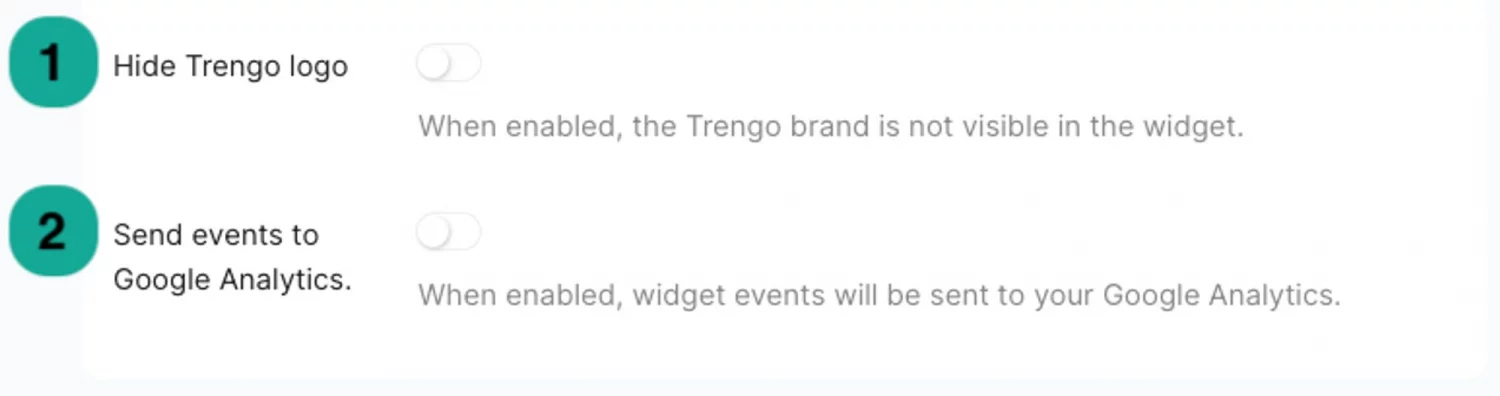
💡 And a tad more important than personalising colours, you can track what happens with your widget. Enable the button you see above if you’d like to track widget events in Google Analytics.
Be omnichannel present with the widget
Now you know how to set up and add the omnichannel chat widget to your website. Customers will be able to get questions answered immediately, reach out via their favourite channels and get relevant support fast. While your team can follow up, generate leads, or automate FAQs in just a few clicks.
It’s better to start your omnichannel approach sooner than later, as companies with an omnichannel customer engagement strategy retain on average 89% of their customers.
So start with the widget, and plan a demo here.

Let's meet
Grow your business with loyalty. Bring all of your customer contact into one, single platform to unlock delight at every step of the way.


© 2026 Trengo